My Working Process
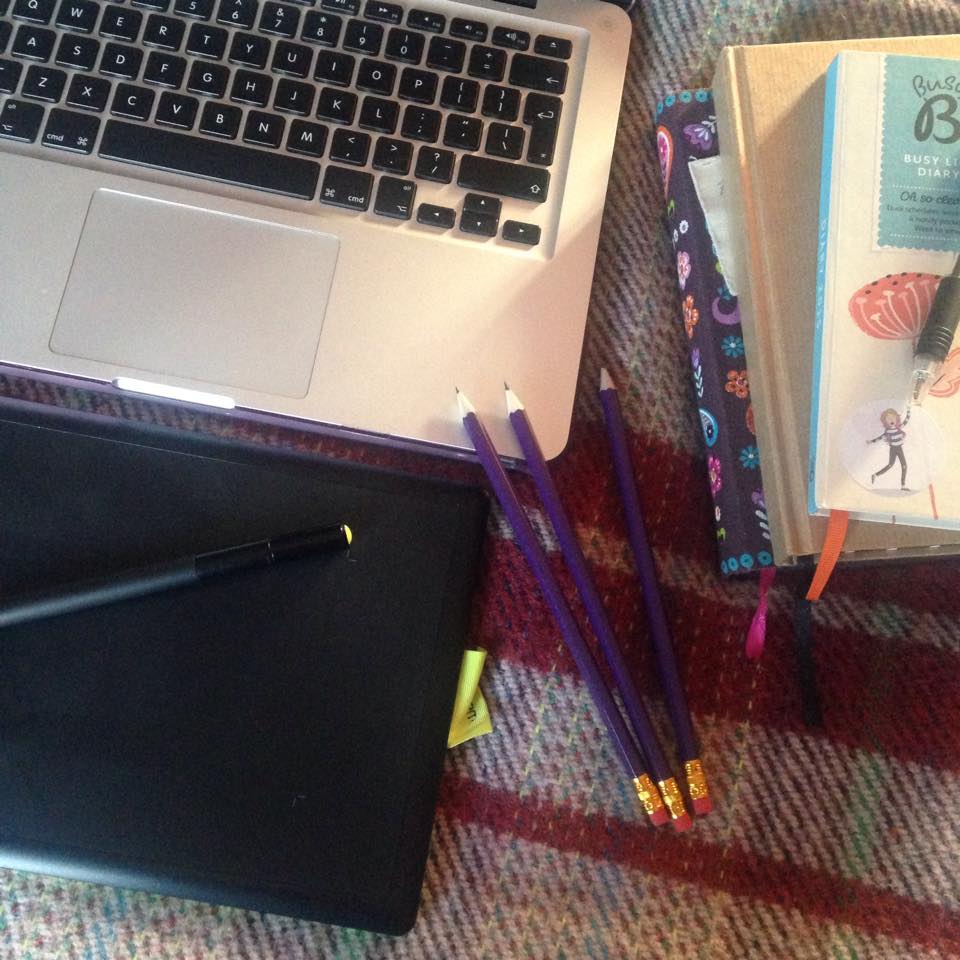
11938014_10203584045440463_2038903860_n
My working process has changed a lot in the years since finishing school with a selection of work illustrated in watercolour and WH Smith fine liner. Obviously my style itself has developed and my skills have improved since then but even the way I work has changed.
During my foundation year I dipped into photography and model making with my illustration. I hand illustrated my characters, made them into little figurines, modelled some backdrops and scenery and photographed the work. I then printed out the photos on textured paper and worked back into the illustrations before hanging them at exhibition.
When I was undertaking the first year of my undergrad I switched and swapped between fine liner and pro marker (I know, I know), I played about with watercolour again and finally I learnt how to edit on photoshop with a Wacom drawing tab. I used to draw my lines separately (still with the fine liner, I learned I promise), block colour with watercolour and then combine the two digitally on Photoshop with a bit of post editing for good measure.
During second year of university we were given a project that involved finding an artist/illustrator we admired, deconstructing how they worked and then recreating a pastiche of their work in a similar style. I chose Victoria Ball and fell in love with her mixed media style of hand drawn line work and textural digital post editing. After completing this project I stuck with this style and developed it in my own way. During this year I spent a LOT of money on platinum carbon ink, Dilli fountain pens from Fountain Pen Revolution and Palomino Blackwing pencils for sketching. I did all my initial designs with the expensive pencils, lightboxed the final line work with the fountain pen and ink and then scanned the work into photoshop and coloured it digitally.
This style worked for a year but during the final year of my undergraduate degree I developed it further to the point I am working at now. So here is a run down of how I work, it isn't long, it isn't complicated but it works now.
11948103_10203584045520465_1870814680_n
1. Paper.
Nothing fancy. White 60 gsm copy paper meant for printers. It does the job, it's smooth and easy to work on and it scans and lightboxes nicely. I bulk buy it from The Works because I go through so much!!
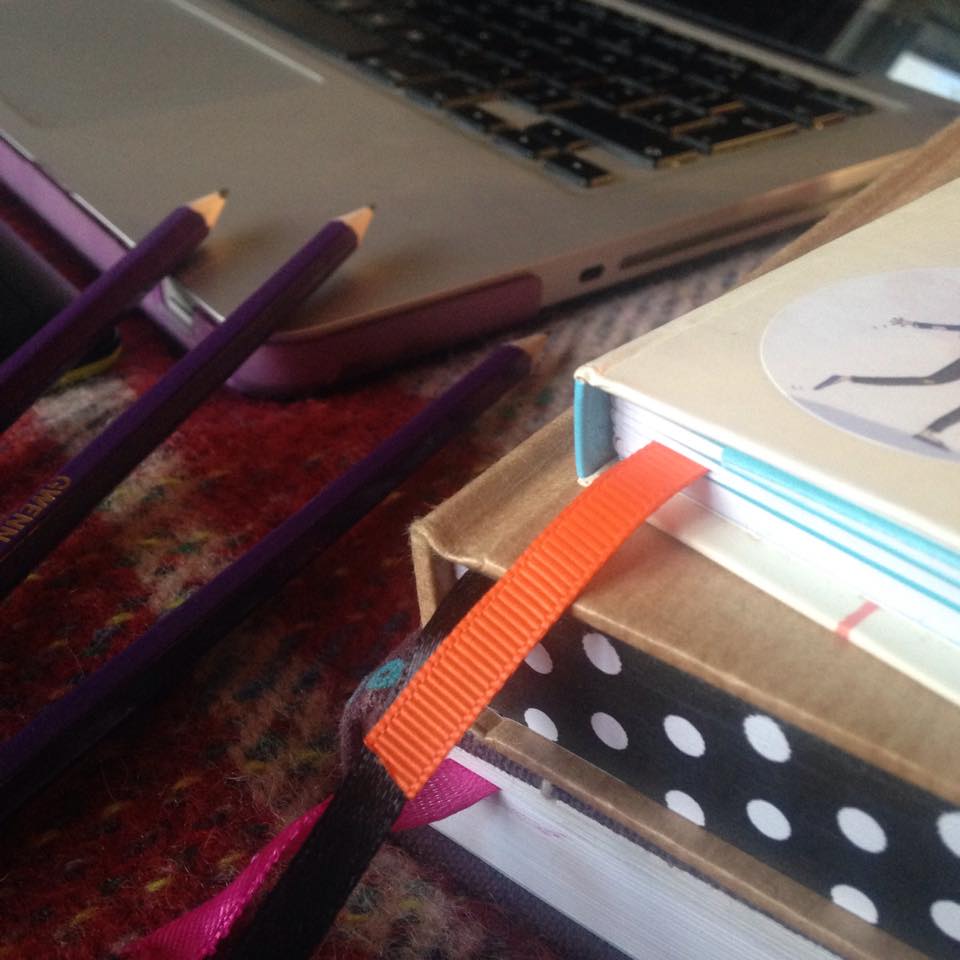
2. Blue Pencil Sketches.
This was the best tip my tutor gave me in three years, having decided my lightboxed line work was a little stiff, we looked back at the initial sketches I was doing for my projects and analysed the sketchy loose lines of my first drawings was much more interesting. However, the problem I was finding was that scanning in my sketches meant the lines were far too grey for my digital colouring. My tutor mentioned that animators often use blue pencil to sketch loose shapes on initial drawings and then develop the ideas with more detailed work in grey pencil. I sketch loosely with a blue pencil, mapping out rough shapes of circles, triangles, angles, the angle of the head and then I rough out a few features like eyes, clothing and a suggestion of background
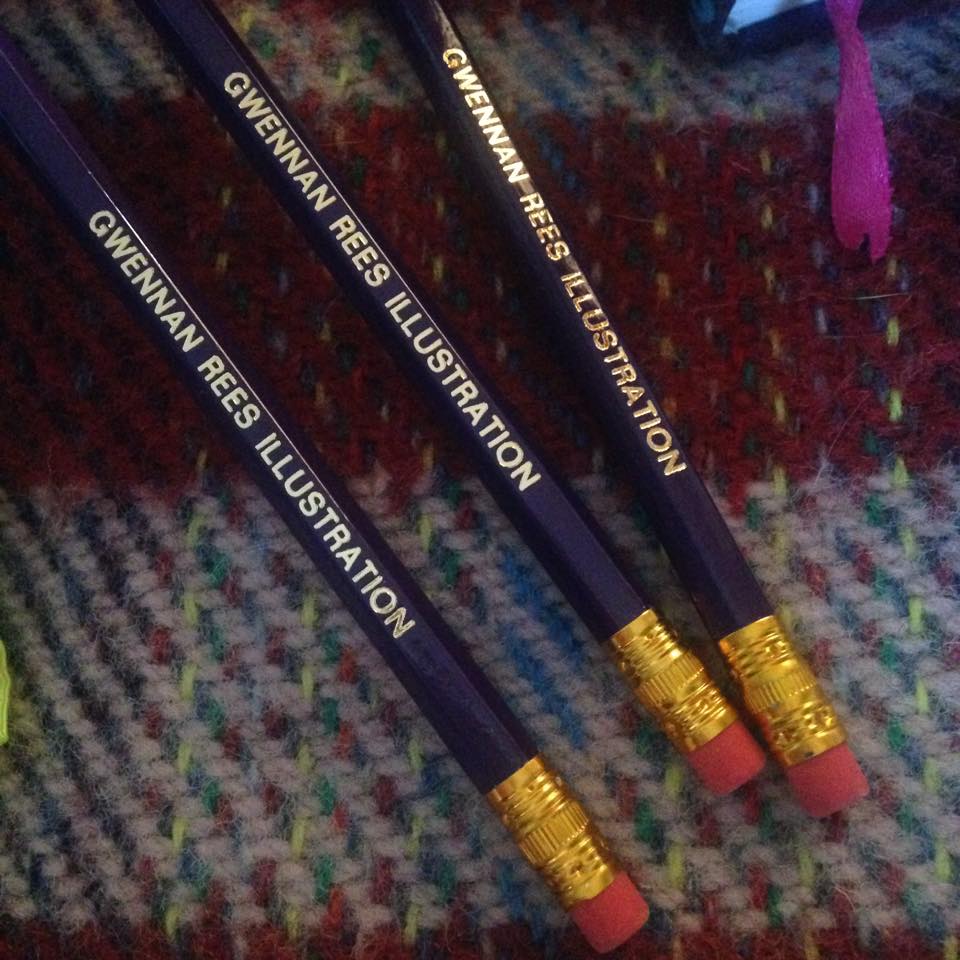
3. Detailed Line Work.
Directly on top of the blue pencil sketching, I start adding more detailed line work using my Palomino Blackwing pencils. Using the rough outlines that I have already drawn I add in all the features and details. I have a horrifically bad habit of pressing really hard on the pencil nibs which I know is damaging to such expensive equipment but it gets me the quality of line and the darkness to the pencil that I am looking for. One day I might break the habit. One day.
4. Lightbox.
I don't always use my lightbox anymore because I try and keep my illustrations fresh and organic but when I do I use an A3 mini sun light pad. If I am using it I don't directly trace what I've already done, I use my sketches as a rough guide and essentially start again!
5. Scanning.
I have your bog standard A4 HP printer and scanner which I use for most of my work and a Brother A3 printer and scanner which I only use for bigger pieces. I scan my work into my Macbook Pro using image capture as JPEG scans at 600 DPI to get the most out of my sketches.
6. Post Editing.
I upload my scans into Photoshop where I use the channel mixer to filter out the blue roughs and keep the crisp grey detailed lines. I take my line work into a new document and use it as a top layer with a multiply filter. This allows me to create multiple layers underneath for the colour work, backgrounds, shadows and highlights. I colour my illustrations digitally using my Wacom drawing tab and a variety of textures that I either get free online or scan myself. I then add colour to the background should it be necessary and the shadows and highlights.
7. Formatting.
I save all my files at 300 dpi and I keep copies of both RGB JPEGS and CMYK PSDS which I use appropriately for screen work or for printing.
8. Printing.
I don't always print my work for example when it's just a piece for screen. If I do print, it is often on copy paper to get a feel for the colours and quality of the print. If I am printing a product such as a postcard or print I have them ordered online in bulk. However, if I am printing a one off copy, for example for a gift or a one off commission I print through my HP printer on 280 GSM watercolour paper which I find gives the work a really nice textural feel and makes it seem less flat, which is often a problem with digital illustration.
I anticipate my style will continue to change and grow as I continue my freelance career, I am always on the look out for new products and new technology to work with, if you have any suggestions please hook a gal up!
11935733_10203584045480464_1249733224_n