Pinterest Inspired DIY 003; Christmas Decorations.
Pinterest Inspired DIY; Christmas Scene Jam Jar Decorations.
So here's a fun fact, this DIY took me 10 minutes from start to finish and cost me a fiver and I managed to make 3 decorations.
This is probably my last festive DIY but I am a bit in love with writing these posts and getting Pinterest inspiration and getting crafty and making things so I intend to carry it on next year. I am renovating my house in January so I'm keen to create some DIY projects and make some cute things so ya'll should watch this space for what masterpieces I create!
I don't know where I even saw the idea for these decorations, I have a feeling I kinda made it up combined with something I'd seen before (I take no credit for the idea, a billion people have done similar before me I just can't remember where I saw it first). As well as the trees -plural- in our house I have acquired a large collection of 'bits' for Christmas. Mainly ornaments and candles and things to hang on the doors and sit on the shelves and that's what category I think this DIY falls into.

What You'll Need:
- Empty Jam Jars.
- Blu Tack.
- Cotton Wool.
- Mini Trees.
- Snow Spray.
Obviously this is all relative to how you want to decorate your jam jars. I wanted to go simple and just have the trees but next year I want to create ones with trees on the top of model cars (preferably models of mine and Joss' cars because I am wild like that). You can get all kinds of decorations and mini figures however you want to style them.


Method:
1. Get your jam jars, as many as you want. I wanted 3 of different heights and shapes and I got them all for free. My mum makes jam every year so she has about 824902849837 in our house so she gave me the pick and I chose 3 with plain white lids because #Christmas. See if anyone has any they don't want or start storing up your family's empty jars, wash them out and save them for Winter next year.
2. Get your decorations. Like I said, I wanted to go understated and simple this year and I only wanted the trees which I bought in The Works, 6 trees of different sizes for a quid. Can't go wrong.
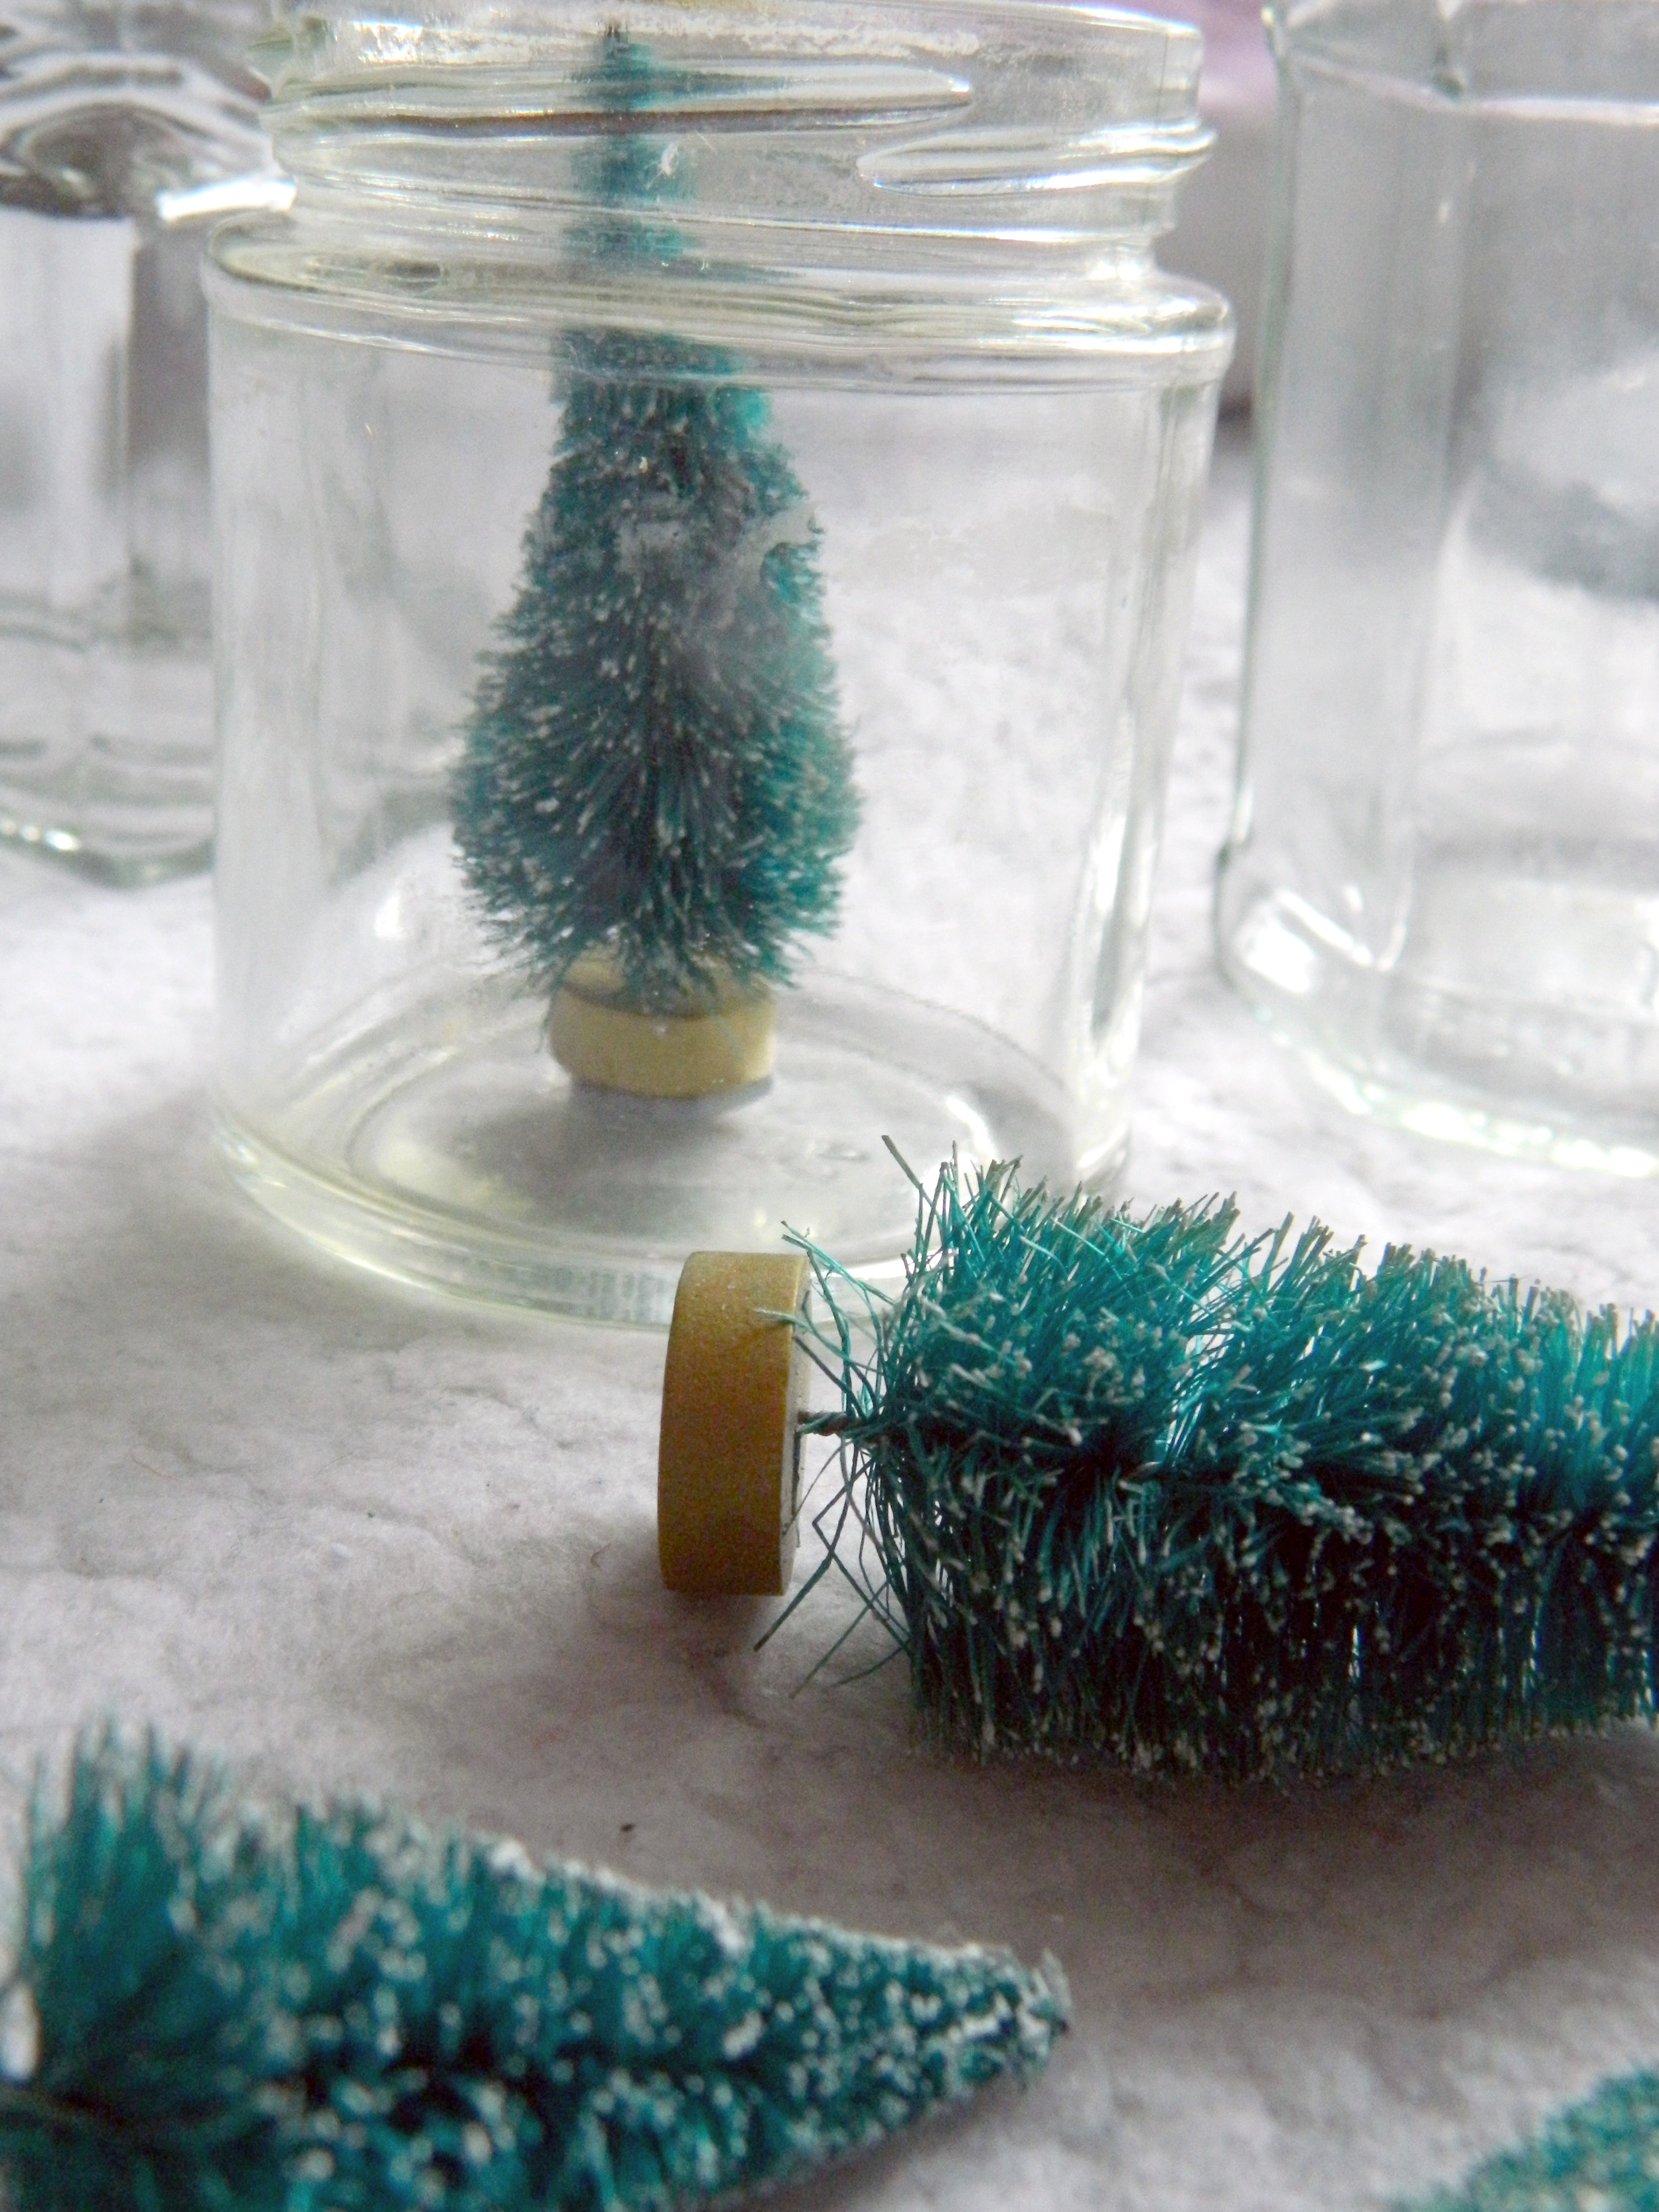
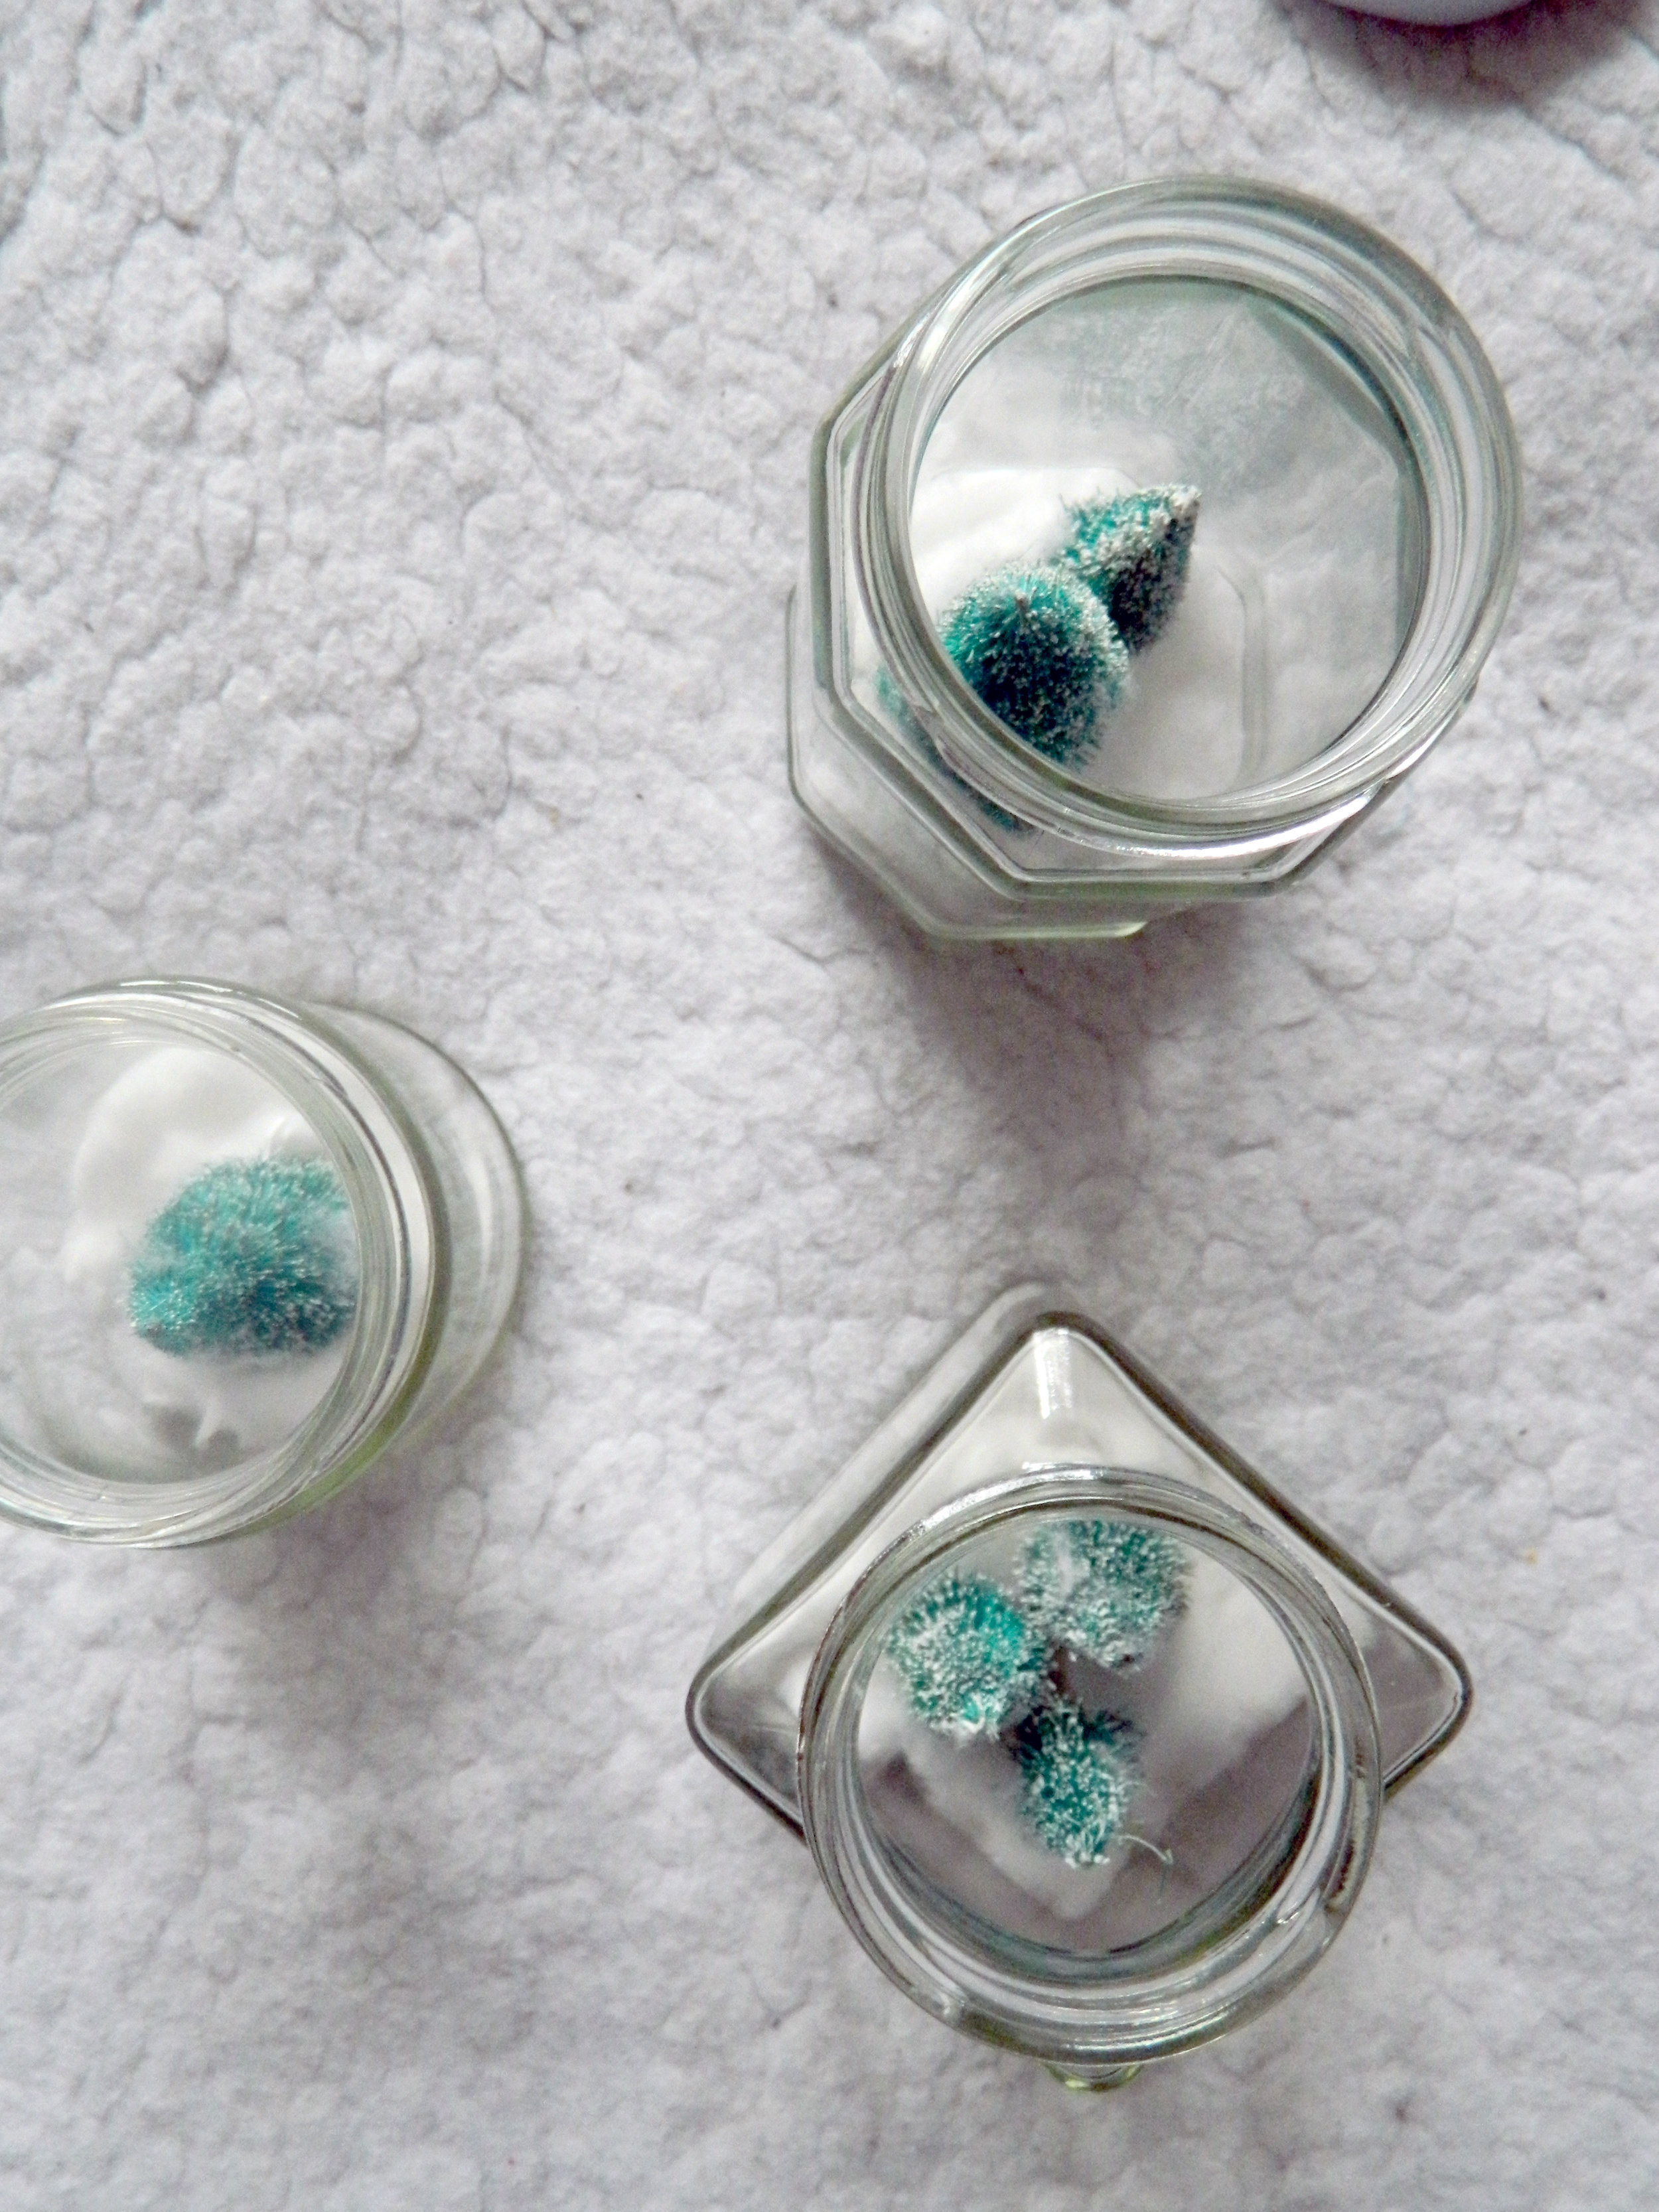
3. Blu Tack your decorations inside your jars. Literally Blu Tack works so well I wouldn't bother getting anything more substantial like superglue. Also jam jars have quite thin necks depending on which you've got so it's quite hard to get them in which is why a big blob of Blu Tack you can press down on works really well. I went for 1 big tree, 1 big 1 medium and 3 small trees in my designs to mix it up a bit.
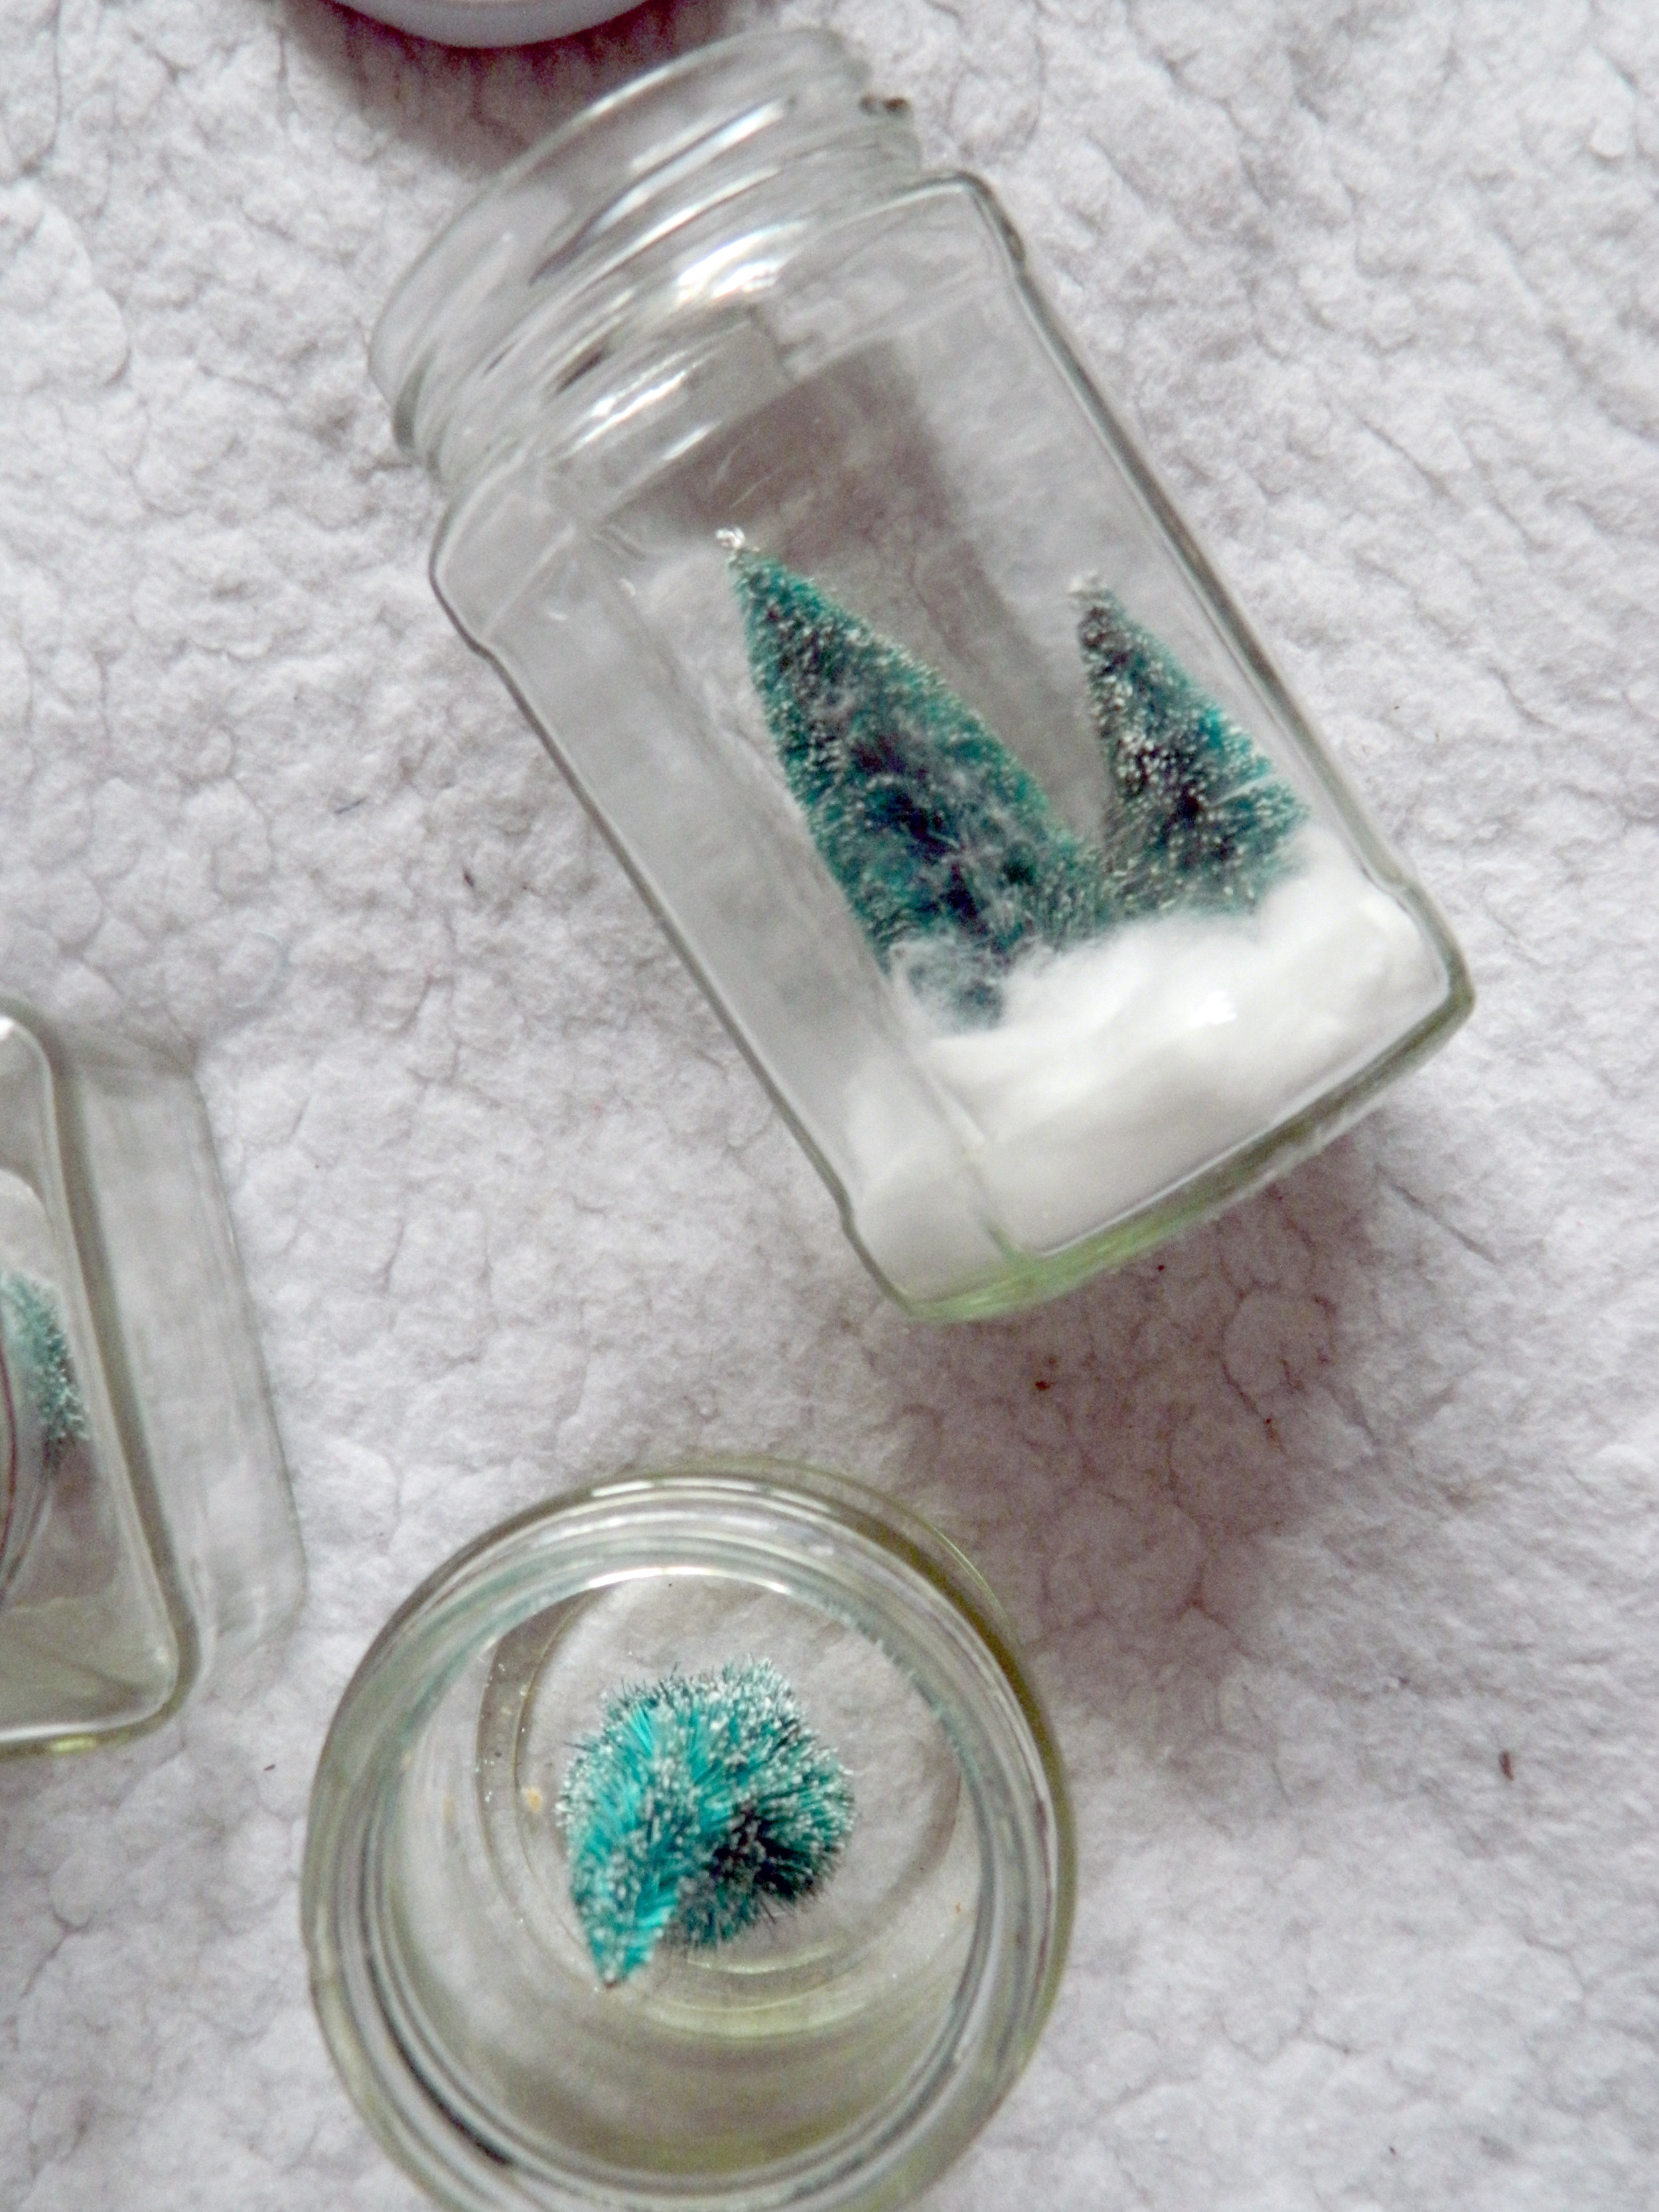
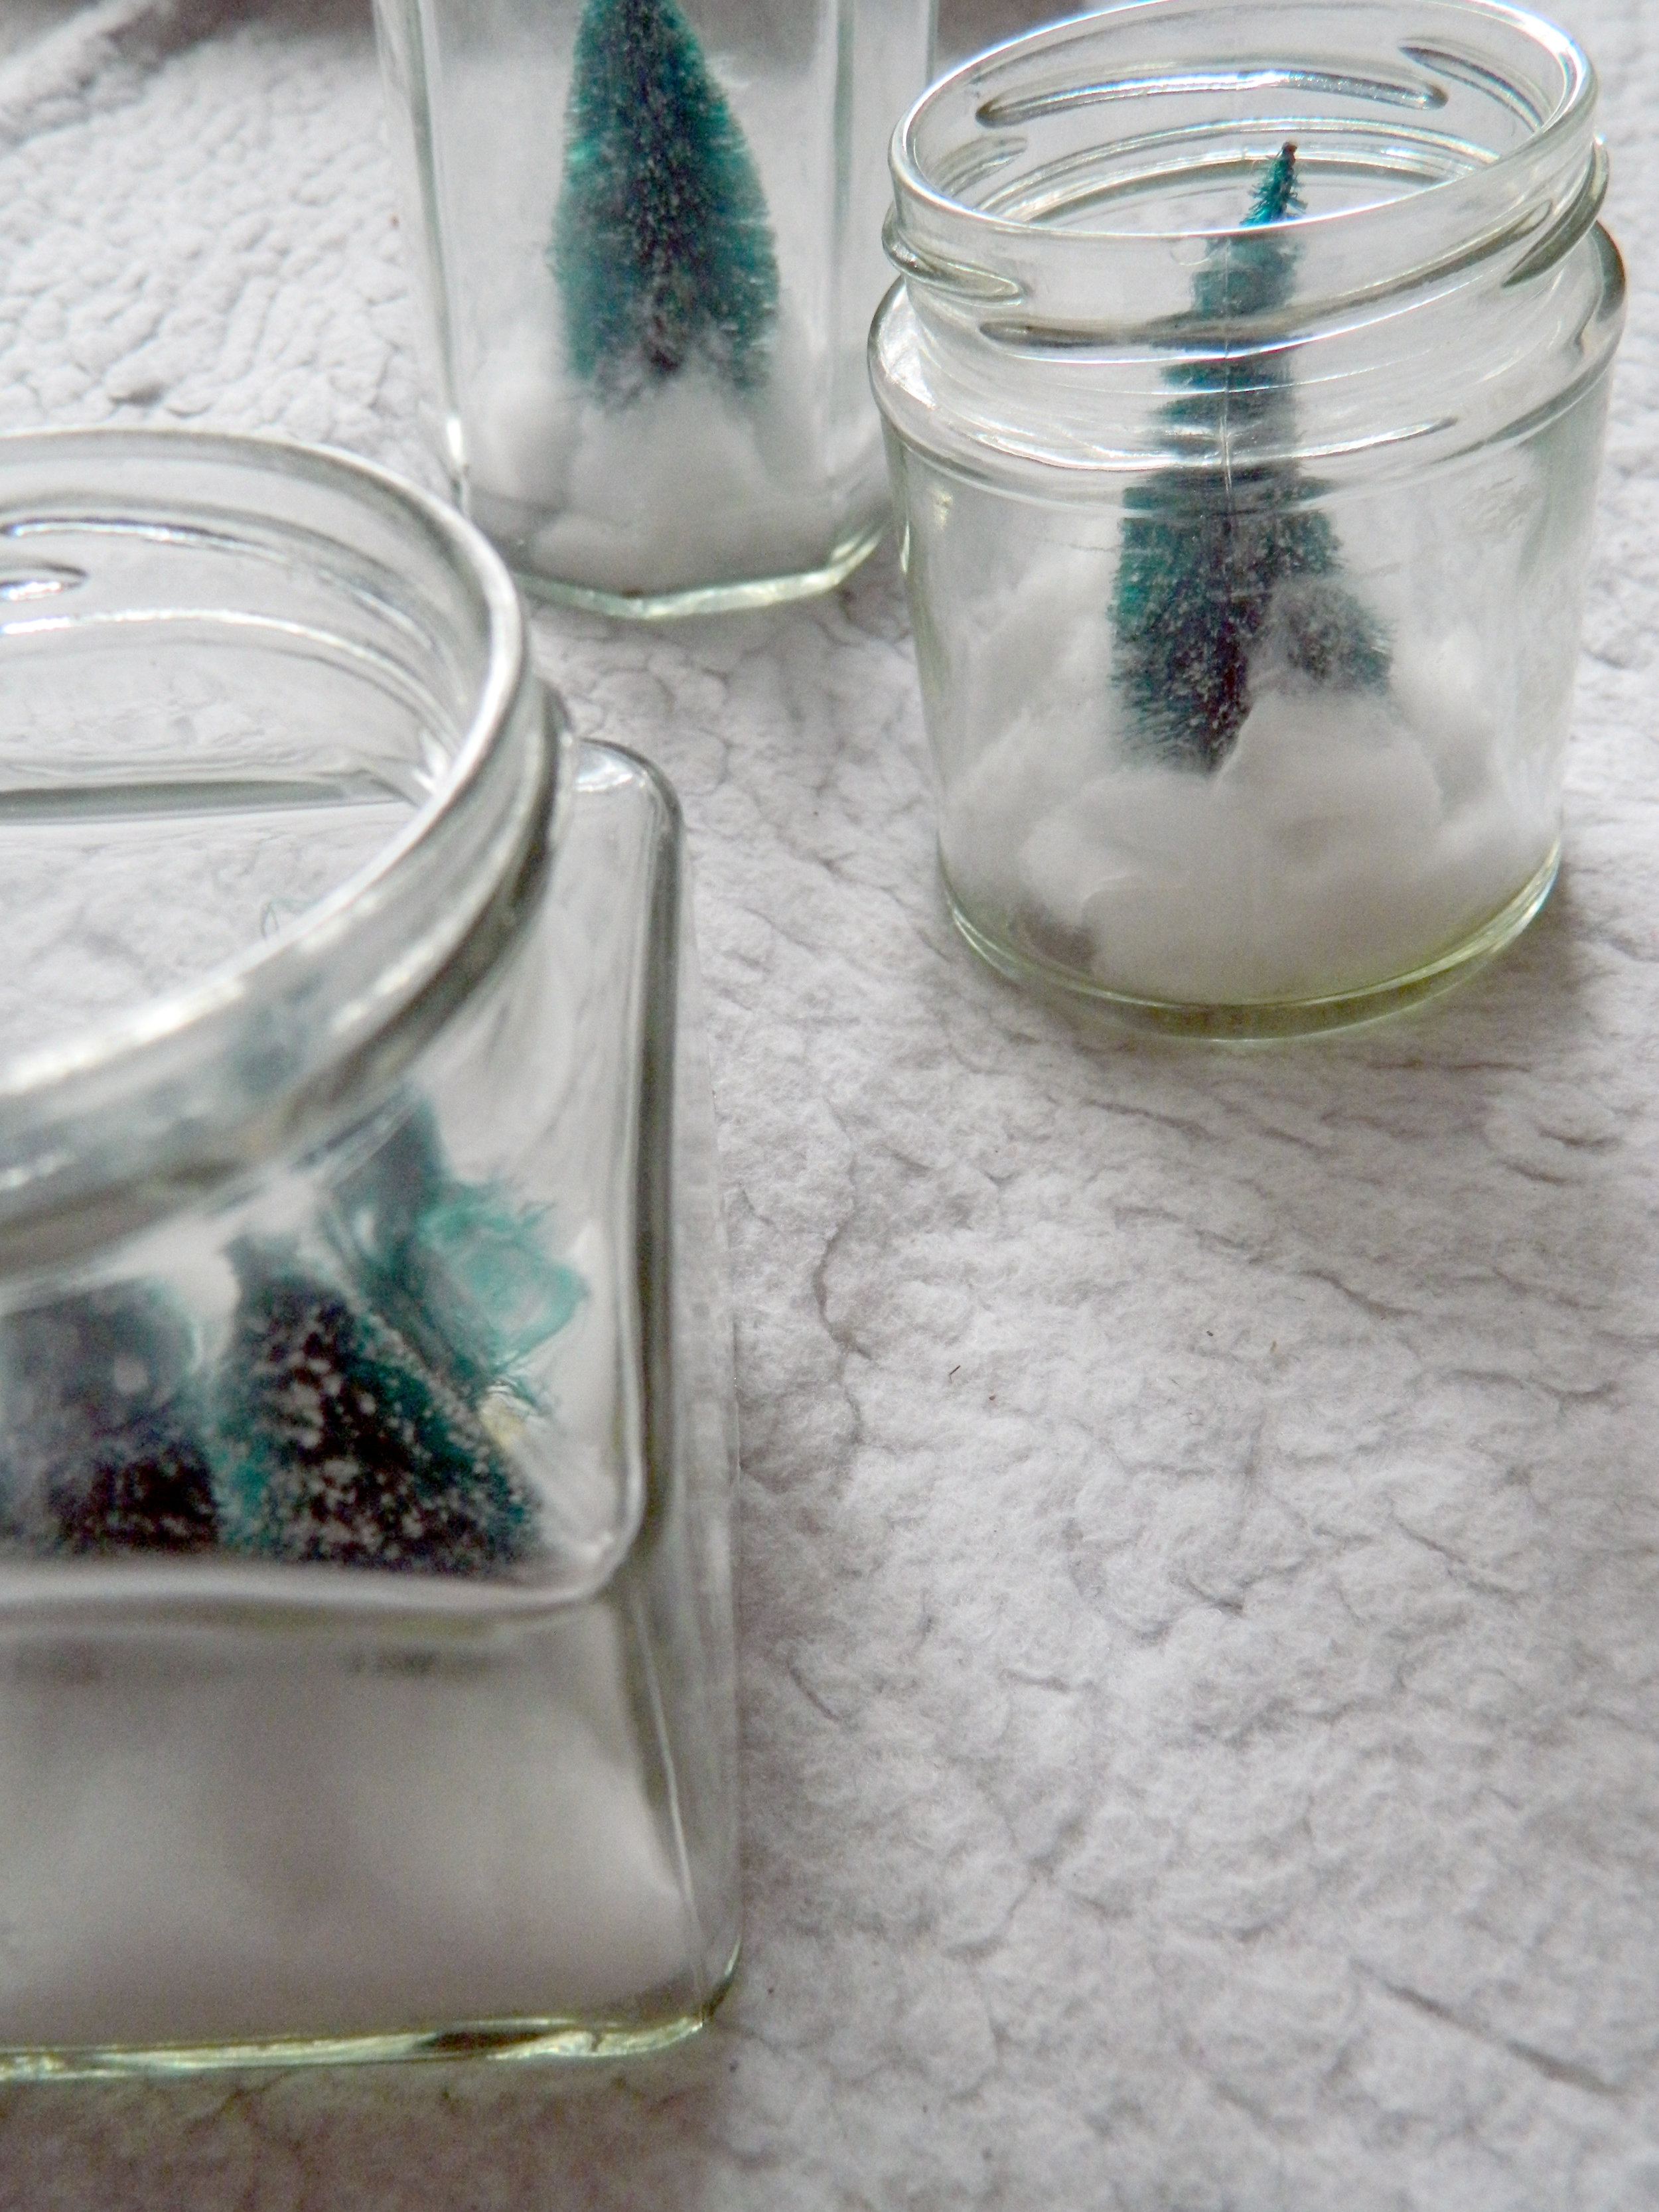
4. Ram in the cotton wool. Your cotton wool basically acts as snow and as a cover for the massive blob on Blu Tack you can see at the bottom of your tree. Due to the nature of cotton wool I found it was hard to manage to get where you wanted so I broke it into smaller bits and used the end of a pencil to push it down in place. Use enough to cover the base of your tree all the way around the jam jar.
5. Pop the lid back on and spray. I'll admit the cotton wool whilst making excellent snow can look a bit naff so I wanted to add some snowflakes onto the outside of the jars and snow spray was my gal in mind for this. The can of snow spray I bought was £2.00 in Wilko and is that stuff you normally spray on trees but this one also mentioned it was fine on glass. I don't think they're that hard to find and they certainly aren't expensive but they just added the finishing touch. I'd advise you spray them outside where it's well ventilated and you aren't going to to get white over all your belongings. They recommend a distance for spraying but it depends on how dense you want the effect. I sprayed fairly close for the base of the jar so it got a good coverage and then sprayed further away half way up the jars so it looked more like falling snow.
And that's literally it! It's the quickest easiest DIY ever and the results are adorable.

I have them along the windowsill in my living room interjected with my snowflake candles from Talking Tables so there's a cute snowy theme going on and I love them.
Genuinely they're some of the favourite decorations I now have and it's always nice to know you saved a few bob and made them yourself. My Mum really liked them as well and now that I want to create other scenes I think they'd make a really cute present for someone (like me) who can never say no to a new decoration. Pop a red and white string or a ribbon round the top and you're good to go!


My Pinterest Inspiration.

Pin For Later!
